Film · 4:09 · captions
A step-by-step guide, filmed on the real LocalQuiver app, to setting up invoices, creating one, texting it to a customer with Add to my contacts switched on, and marking it as paid.
Watch
Read the transcript
Here's exactly how to send an invoice from your LocalQuiver app, step by step, on your phone.
Open the menu, and tap Invoices.
The first time, you'll see a one-time notice. It just says that you're responsible for your invoices meeting the rules where you trade, things like tax and numbering. If you're ever unsure, check with your accountant.
Tick the box, and tap Continue. You won't see this again.
Step one: set up your invoices. You only do this once. Tap Invoice settings.
Your invoices automatically use the logo, colours and fonts from your brand kit.
Under Your business, the country and currency are already set, and your business name is filled in for you. Add your address, then your email, your phone number and your website.
Your phone number really matters, because customers can't reply to the text. More on that in a moment.
If you're VAT registered, add your VAT number and leave I charge VAT switched on. If you're not, like Hollybrook here, just switch it off.
Now, How customers pay you. This is the important bit. Customers pay you directly, by bank transfer, so add your bank name, the account name, your sort code and your account number.
Take cash or card too? Pop that in Other ways to pay.
Last, numbering and terms. Choose a prefix for your invoice numbers, and if you're moving over from Word, set the next number to carry on from your last invoice.
Payment is due within fourteen days, unless you change it. Add a thank-you note for every invoice, then tap Save settings.
Step two: create your invoice. Tap New invoice.
Type your customer's name. If they're already in your contacts, just pick them from the list.
Then add their mobile number. That's the key one, because it's how the invoice gets texted to them.
Under Work and items, describe the job and put in the price. Tap Add a line for anything else, and the total adds itself up.
VAT is switched off in your settings, so it's off here too.
The invoice number, the date and the due date are all filled in for you, and so is your note.
Tap Preview to see exactly what your customer will get. Your logo, the job, the total, and your bank details, so they know just how to pay you.
Step three: send it. Tap Save and send.
You can email invoices too, or download them as a PDF, but texting is the way to go. Text it is ticked, and here's the exact message your customer will get.
Now, this switch is the clever bit. Leave Add Sarah Jones to my contacts switched on. That's what starts your review automation.
Tap Send invoice, and that's it. It's on its way.
Here's what Sarah gets. A text from your business name, not a random number. It's one-way, so she can't reply, which is why your phone number is on the invoice.
She taps the link and sees your invoice, which she can download as a PDF. Your bank details are right there, so she can pay you by bank transfer.
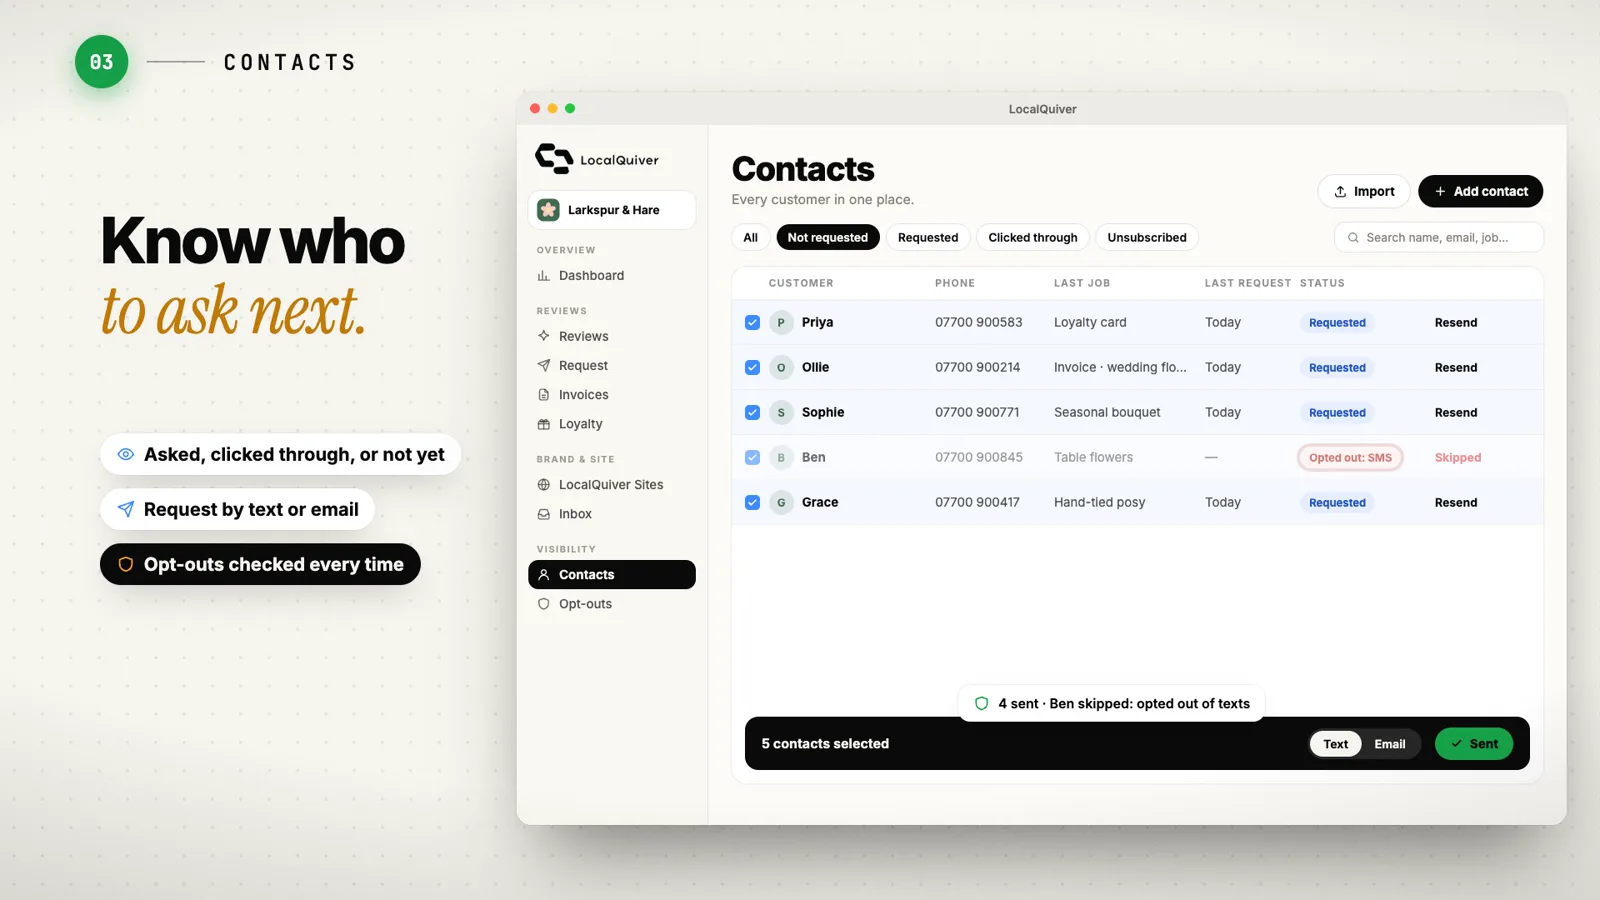
And because she's now in your contacts, our review automation takes over. We'll send Sarah her own review request.
If she doesn't get round to it straight away, we'll follow up automatically, in a friendly, non-pushy way. The moment she clicks through to leave a review, the reminders stop.
And regulars who haven't clicked through yet are asked again on their next invoice. Once they have, they won't be asked again.
Step four: getting paid. The money goes straight into your bank account, so the app can't see it. That means invoices won't mark themselves as paid.
To keep things tidy, find the invoice, tap the three dots, and tap Mark as paid. Your outstanding total updates straight away.
So, set up your details once, create the invoice, and text it with Add to contacts switched on. Your customer gets a smart, branded invoice, and your reviews look after themselves.
Any questions, just give us a shout.
Keep watching
Book a free chat and we'll show you what this would look like for your business, with no obligation.